
Today I’ll show you how to turn your KitchenAid mixer into a high-torque, stationary disc sander.
Quick Resources
- YouTube video: https://youtu.be/vbJvURlSU44
- Instructable: https://www.instructables.com/id/KitchenAid-Benchtop-Disc-Sander
- Thingiverse Files: https://www.thingiverse.com/thing:3507813
For quite some time, I’ve argued that the workshop is missing a particular tool: a low speed, high torque, stationary disc sander. Stationary disc sanders are typically fast.
What’s the problem with fast?
High speed sanding burns end grain and melts thermoplastics. That’s the problem with fast.

The KitchenAid Mixer is the Perfect Shop Tool
The KitchenAid mixer has the perfect motor for the job. Here’s why:
- Strong, torque-y motor running at slow speeds
- Variable speed
- Has an attachment port
Parts


Parts to Buy
- Abranet: https://amzn.to/2OiThQy
- Squishy Interface Pad: https://amzn.to/2OhdeqU
- R4-2RS Bearings: https://amzn.to/2HxVXJE
- Wide Roll of Velcro: https://amzn.to/2YguWj5
- T Bolts & T Nuts: https://amzn.to/2TYZjLv
Parts to Make
There are 2 parts to 3D print. Download from: https://www.thingiverse.com/thing:3507813
Part #1: Tapered Bearing Holder

- Thru-hole: 5/16"
- Length: 1 1/16"
- OD Top: 13/16", OD Bottom: 7/8"
- Both bearing recesses: 5/8" diameter, 3/16" deep
Part #2: Bolt Spacer

- Thru-hole: 1/4"
- Outer diameter: 7/16"
- Length: 1 3/8"
Assemble The Driveshaft
Stack the parts together as shown.


Sand/grind the wings off the t-bolt to make it square and fit in the KitchenAid.


Install the driveshaft:

Make the Sanding Plate
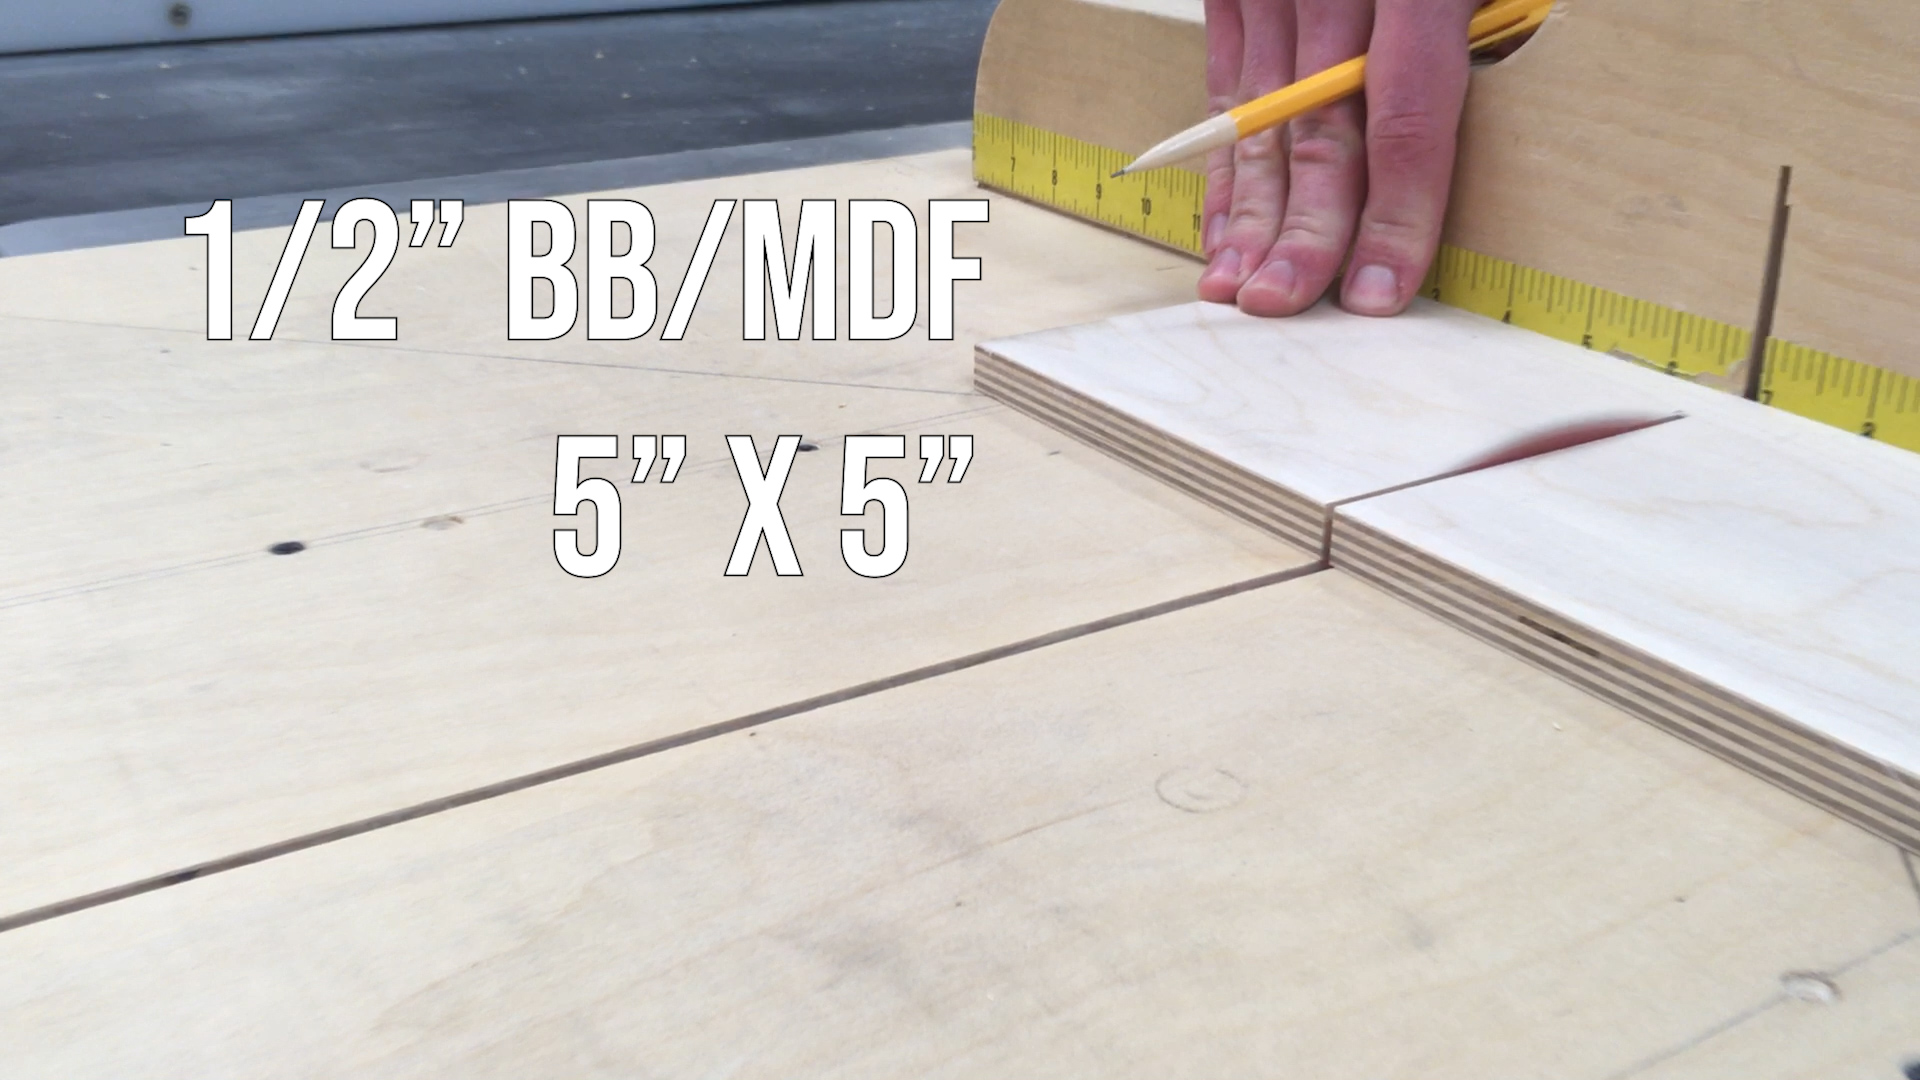
Take a 1/2" piece of Baltic Birch or MDF and cut it down to 5" × 5".
Mark & punch the center, use a Forstner bit to create a recess for the T-Nut.


Drill a hole for the T-Nut sleeve and tap in the T-Nut all the way.

Mount it on the mixer, fire it up, draw a circle just under 5", then cut it out.


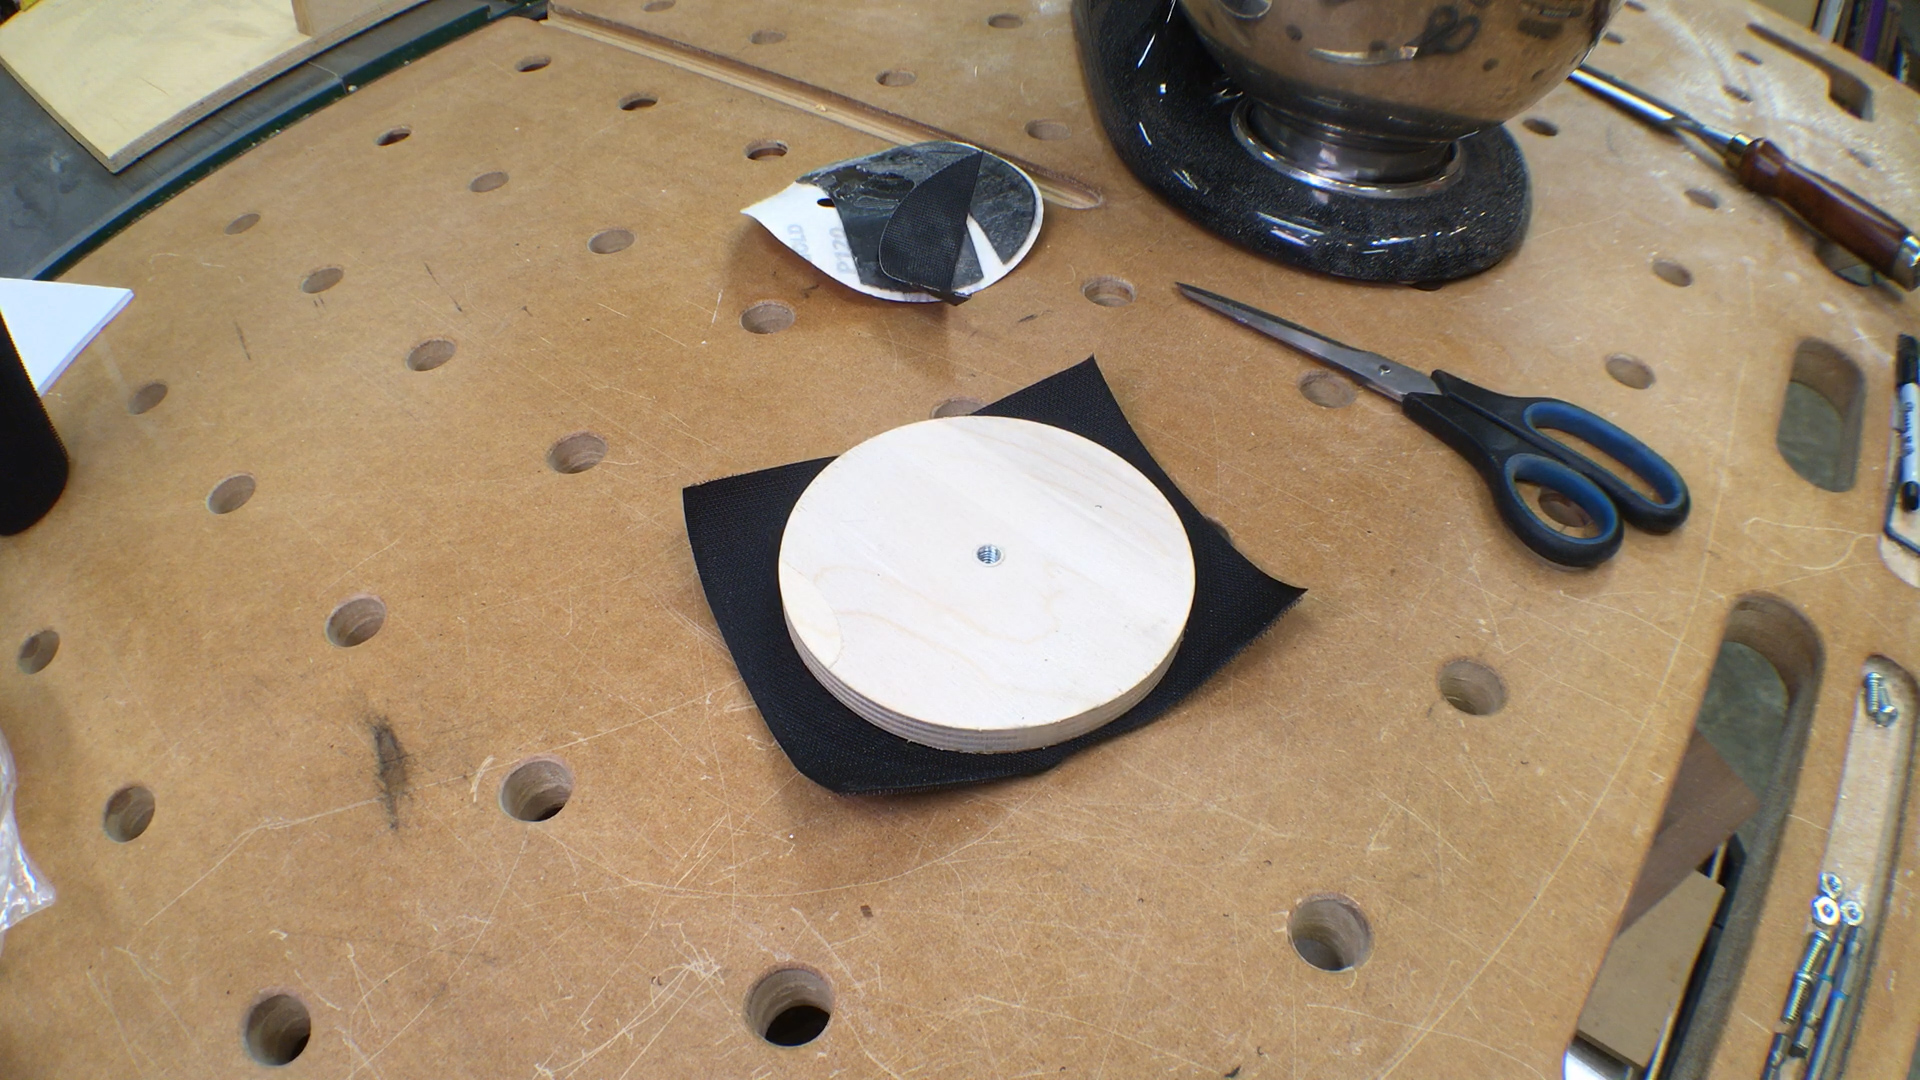
Attach the Velcro
Get a wide roll of Velcro and use Epoxy to stick it on once and for all.


Create a Foam Core Dust Shield
Poke a hole in a foam core board to keep dust away from the mixer.


Give It a Spin!
For ideas, check out the YouTube video. Let me know how it goes!
Move it Forward
I’m aware there are improvements to be made — notably in the dust collection department. Please remix and make your own variations. If you come up with anything cool, I’d love to hear about it!